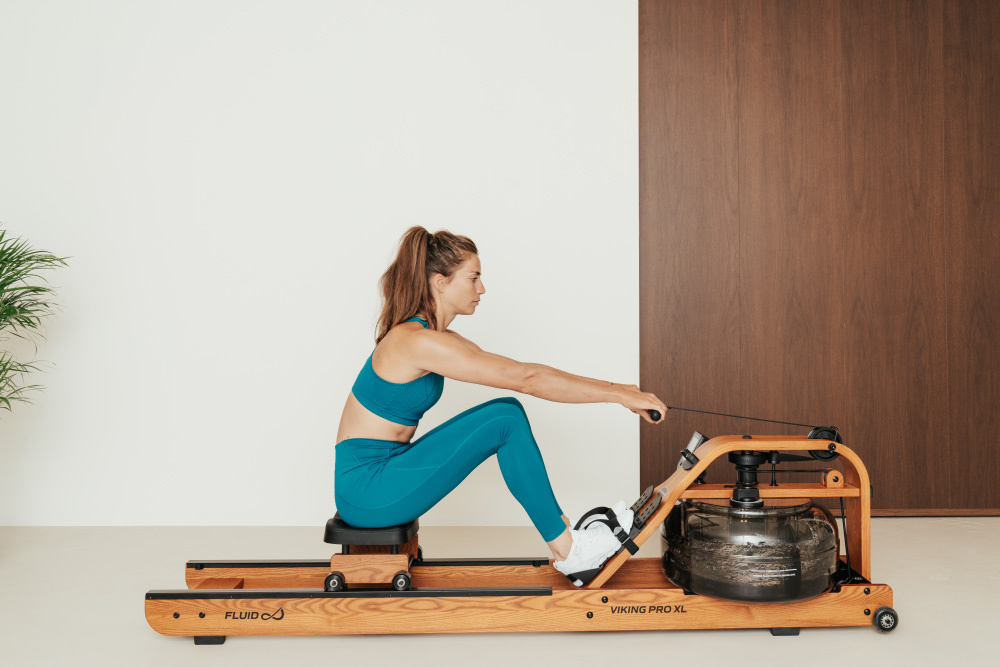
Perfect your rowing technique with these 6 steps
THE 6 PHASES OF A ROWING STROKE
The perfect rowing stroke consists of 6 phases. Learning and understanding these six phases will help you get the most from each workout while making sure you are using your Fluid Rower in a correct way.
The three phases from catch to finish are generally grouped as “the drive phase”, as this is when the effective work is done, and the three phases from finish to catch are called “the recovery phase”.
SEAMLESS MOVEMENT
The key to a proper rowing technique is to think of all six movements as a complete cycle, in which one phase flows seamlessly into the next.

Phase 1 - Arms away
Sit with your legs straight. Keep your back straight but lean slightly back from the hips. Keep your arms straight and your hands level with the lower ribs. Now swing back.

Phase 2 - Body preparation
Your legs and back are still still straight, but in thise phase you will lean slightly forward from the hips while your arms are still out in front. Now slide and lean forward. NOTE: your hands should now be ahead of your knees while your legs are still straight.

Phase 3 - The catch
Your legs are fully compressed - aim to get shins close to a vertical position, but not further than that. Your back is still straight and you start leaning slightly forward. Your arms are still out in front. Now drive hard.

Phase 4 - Drive 1
Your knees are partially straightened. The seat is now at mid-point of travel, your back and arms are the same as in phases 2 and 3. Maintain the stroke.

Phase 5 - Drive 2
Your knees are nearly straight and the seat is at 3/4 point of travel. Your back is still straight but you start leaning slightly back from hips. Your arms are still straight. Now squeeze through.

Phase 6 - The finish
Your legs are now fully extended and your back is still as straight as in phase 5. Keep your arms pulled in so your hands are close to your chest. Your forearms are horizontal, and your elbows close to your rib cage.


